| Overview |
The Omnify installation and setup consists of 3 main components:
| Database Server |
Server running either SQL Server 2005 or 2008 |
| Application Server |
Server running Microsoft IIS, .NET Framework, and the Omnify applications |
| Web Services |
Server running Microsoft IIS, .NET Framework, and the Omnify XML Web Services |
Note: all 3 components can be installed on the same or different machines.
|
|
|
|
The setup of the database server consists of installing Microsoft SQL Server (2005 or 2008).
Microsoft SQL Server can be obtained from the Microsoft web site.
|
|
|
The Omnify Server Applications and Web Services are installed using the Omnify Server installation.
The Omnify Server installation is available from the Omnify Software Downloads page.
The Omnify Server installation and setup consists of the following steps:
|
|
|
Internet Information Services is Microsoft’s Web Server that runs on most Microsoft operating systems.
Many systems will automatically come configured with IIS installed and running.
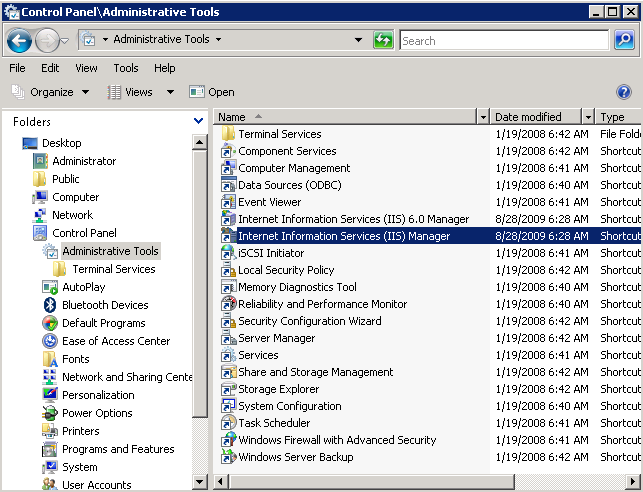
To check if IIS is installed, go to the Administrative Tools section of the Windows Control Panel.
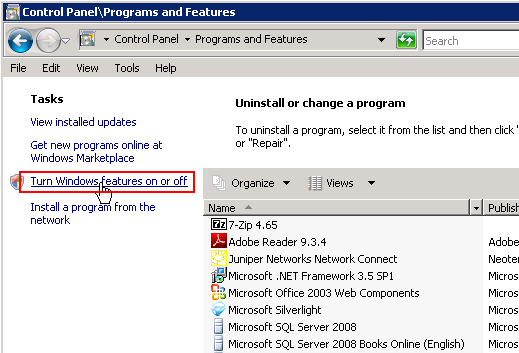
If IIS is not installed, go to the "Turn Windows features on or off" option in the Programs section of the Windows Control Panel.
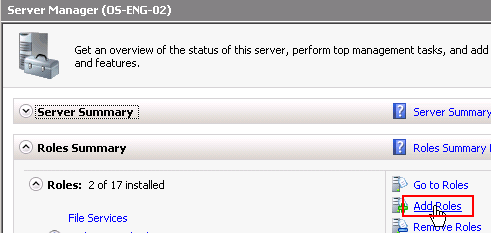
From the Server Manager window, click the Add Roles link.
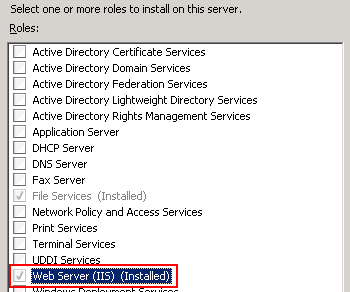
Enable IIS using the Add Roles Wizard.
|
|
|
To verify that the .NET Framework 2.0 (or above) is installed, go to the "Turn Windows features on or off" option in the Programs section of the Windows Control Panel.

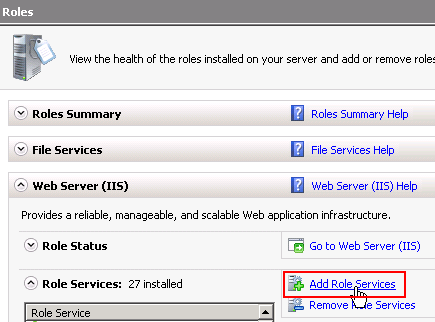
From the Web Server (IIS) section Server Manager window, click the Add Role Services link.
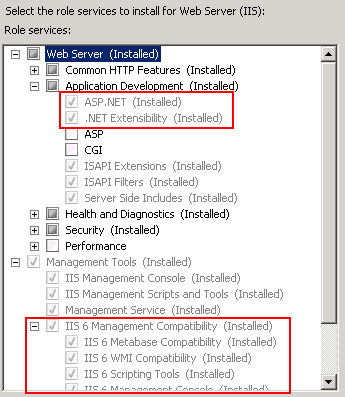
From the Add Role Services dialog box, enable the ASP.NET options as well as the IIS 6 Management Compatibility options.
|
|
|
To install the Omnify Server Applications and Services download and execute the Omnify Server 5.0 installation from http://www.omnifysoft.com/downloads.
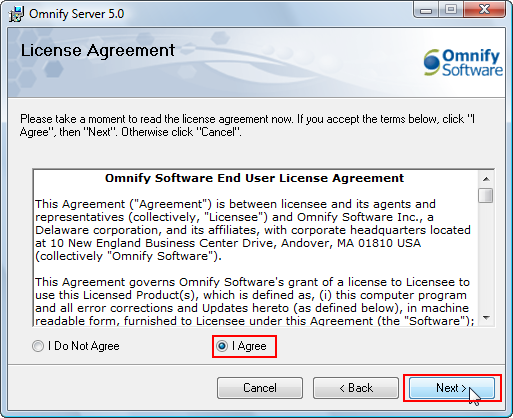
When the Server Installation begins, you will be asked to read and approve the End User License Agreement.
Click I Agree and then click the Next > button.
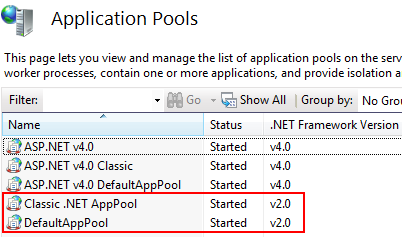
Next, you will specify a virtual directory where all Omnify Server Applications and Services will be installed, as well as select an Application Pool.
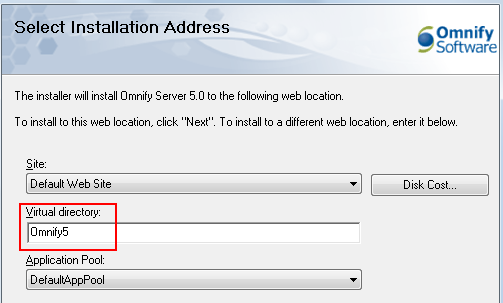
Note: select an Application Pool that uses the .NET Framework version 2.
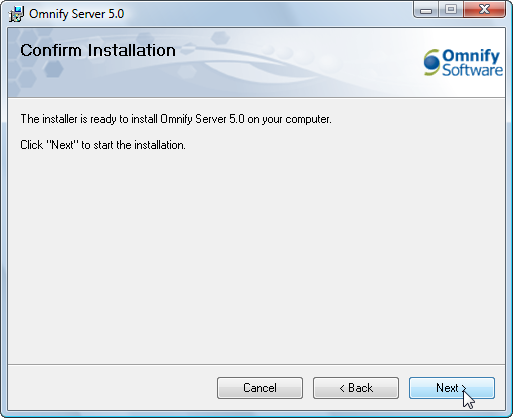
On the last page of the installation wizard click the Next > button to confirm the install settings and start the installation process.
Once the Server installation is complete, you can visit the Omnify Server Home Page using any Web browser with the URL: http://[Server Name]/[Omnify Virtual Directory]
(e.g. http://omnifyserver/Omnify5).
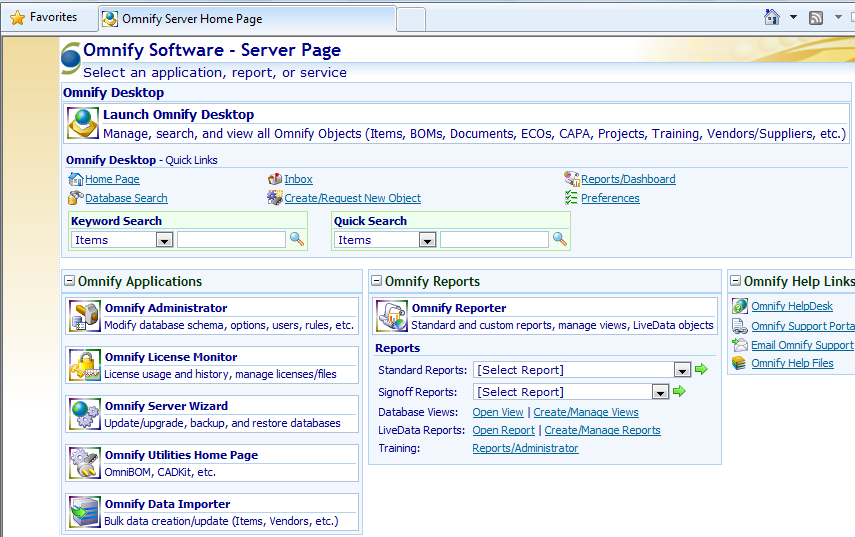
The Omnify Server Home Page will provide links to the various applications and services installed with the Server installation.
|
|
|
The Omnify Server install includes blank Omnify databases, however most often your databases will be prepared for you by a qualified Omnify Software Application Engineer.
These prepared databases will typically contain your own legacy data.
The databases will be provided in the SQL Server Backup (.bak) format.
To install the blank or prepared databases, launch a web browser and specify the Omnify Server Home Page address: http://[Server Name]/[Omnify Virtual Directory]
(e.g. http://omnifyserver/Omnify5).

From the Omnify Server Home Page, select the Omnify Server Wizard application.
Note: you will need the SQL Server system administrator (sa) password.
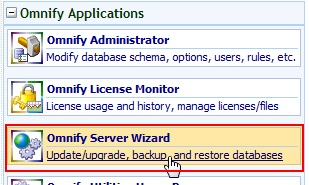
On the first page of the Omnify Server Wizard specify the sa account and password and then click the Connect to Server button.

The next page (Select Database) will display any Omnify databases that are attached to the specified server.
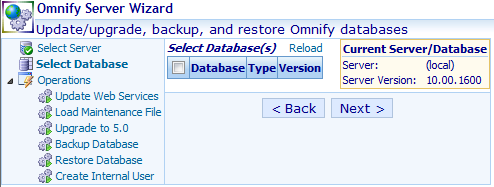
To attach the database, select the Restore Database link from the Operations tree.
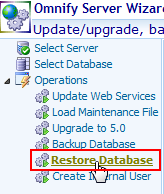
From the Restore from Backup page, specify the backup database (.bak file) and click the Read button.

The display will update to show the Logical Data and Logical Log names as well as the default location of the files.

Set the desired database name and file locations, then click the Restore Database button.

The restore database should now appear in the Select Database list.
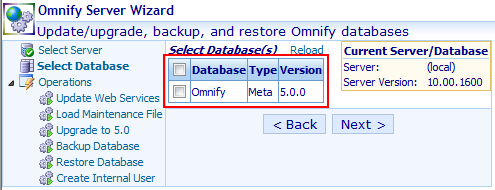
Repeat the above steps for the Omnify Documents and Toolkit databases.
|