|
|
| Overview |
The Omnify CADKit is an application designed to provide a bi-directional interface between the Omnify database and applications and various CAD and CAE tools.
Currently, CADKit provides the following interfaces and functionality:
| • | Apply/add components to PADS Logic with information/attributes from the Omnify database |
| • | Update PADS Logic schematic components with information/attributes from the Omnify database |
| • | Compare/validate PADS Logic schematic components with Items in the Omnify database |
| • | Create BOMs from PADS Logic Schematics |
| • | Upload BOMs and documents from PADS Logic Schematics to Omnify |
| • | Create BOMs from SolidWorks Assemblies |
| • | Upload BOMs and documents SolidWorks Assemblies to Omnify |
| • | Verify/Compare models in a SolidWorks Assembly to Items in the Omnify database |
| • | Upload BOMs and documents Solid Edge Assemblies to Omnify |
| • | Verify/Compare models in a Solid Edge Assembly to Items in the Omnify database |
|
 |
Installation/Setup |
Top |
|
CADKit is included in the Omnify Client Utilities package.
CADKit is a "client-based" utility that must be installed on a Microsoft Windows machine.
The Omnify Client Utilities can be accessed from the Omnify Server Home Page.
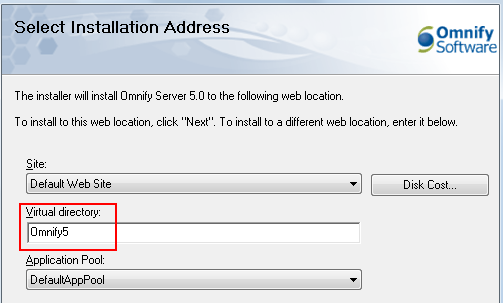
When the Omnify Server Installation is launched, you will be asked to provide a virtual directory where all Omnify Server Applications and Services will be installed.

Once the Server installation is complete, you can visit the Omnify Server Home Page using any web browser with the URL: http://[Server Name]/[Omnify Virtual Directory] (e.g. http://omnifyserver/Omnify5).

To download the Omnify Client Utilities, select the Omnify Utilities Home Page module from the Omnify Server Home Page.

This will redirect you to the Omnify Client Utilities Home Page.

To start the download, click the Download the Omnify Utilities Setup hyperlink

This will invoke your browser's file download dialog box, from the dialog box you can either run the .msi file directly or save it to a location.
Once the .msi file has been downloaded, you can double-click to run it.
Note: if you have already installed the Client Utilities and would like to re-install, you will need to remove the existing installation first.

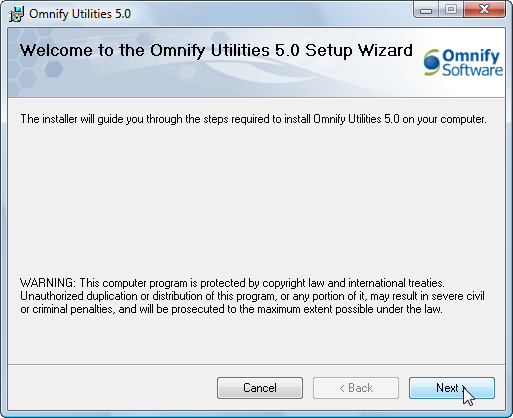
This will start the Omnify Client Utilities setup wizard.

Once the installation is complete, you'll be able to launch CADKit from the Start menu.

|
 |
Launching/Login |
Top |
|
Once the installation is complete, you'll be able to launch CADKit from the Start menu.

When launching CADKit, a login dialog box will appear.

From the Login dialog box, you must specify the Omnify database server and database name.
Note: contact your Omnify administrator or qualified Omnify Application Engineer if you do not know these settings.
The system will remember these setting after a successful login.

The Login dialog box will also require you to specify your Omnify user name and password.

Once the server, database, and user are specified, click the Login button to login to the Omnify database and launch CADKit.

|
 |
CADKit Home Page |
Top |
|
Once a user has logged into an Omnify database, CADKit will display the CADKit Home Page.

The Home Page will contain links to all CADKit adapters as well as a link to the Options/Preferences.
You can launch a specific adapter by clicking on the Adapter hyperlink, toolbar, or View menu.
You can also enable the system to launch a specific Adapter automatically when you log in using the User Options dialog box.
|
|