| Overview |
BOM routing sequences/steps represent specific actions that need to be executed for manufacturing, test, and/or assembly purposes.
BOM routings can contain an unlimited number of sequences.
Each sequence can include items from the bill of material that are used/consumed for that particular step.
Sequences/Steps can be grouped under "Operations" for intuitive sectioning, easy navigation, and hierarchical representation.
The Operation usually defines a specific manufacturing, assembly, or test stage.
| Routing structure: |
| • Operation 1 |
| |
» Sequence 1 |
| |
... |
| |
» Sequence N |
|
 |
Sequences Page |
Top |
|
To modify an operation's sequences, click the Sequences tab from the Routing form navigation bar.

The Sequences page will provide a list of all operations assigned to the Routing at the top of the page.

Sequences must be assigned to an Operation.
To create or modify sequences, you must first select an operation.
You can select the operation from the Operation drop list or use the « Prev or Next » buttons.


|
 |
Sequences List |
Top |
|
Once an operation is selected, the Sequences list will display the current sequences assigned to that operation.

For users with editing permissions, the toolbar will contain functions for adding and editing operations.

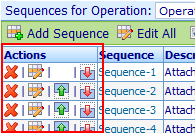
Users with editing permissions will also have an Actions column for modifying individual operations.
Sequences can be assigned a machine/area name/identifier and times fields (Queue, Setup, Machine, Labor, Move, and Variable).
Time fields can be used to estimate throughput and overall processing times.
The Sequences list will display all general information and custom fields as well as the time and machine fields.
Users can show/hide the time fields by checking/unchecking the option.


The Sequences list contains a hyperlink in the Sequence (name) column.
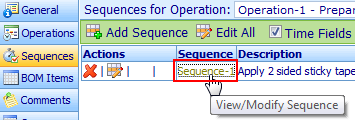
Clicking the hyperlink will allow you to view and modify the BOM items associated with the sequence.

|
 |
Adding Sequences |
Top |
|
To add a sequence, you must first select the operation to which you wish to add the sequence.

Once the operation is selected, click the Add Sequence toolbar button.
This will display the Add Sequence dialog box.
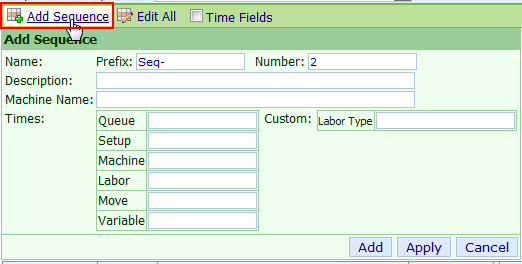
From the Add Sequence dialog, you can specify a sequence Prefix, Number, and Description.
If custom fields are enabled (Omnify Administrator), the field options will appear in the dialog box.
All time fields and machine name fields will be available even with the time fields hidden.
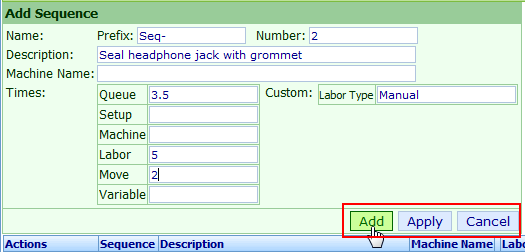
To add the sequence, click either the Add or Apply buttons.

|
 |
Removing Sequences |
Top |
|
To remove a sequence, click the Remove icon in the Actions column of the Sequence list.
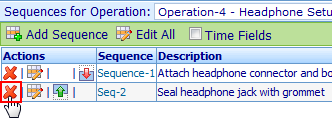
You will be asked to verify the removal.

|
 |
Editing Sequences |
Top |
|
To edit a sequence, click the Edit icon in the Actions column of the Sequence list.

The Edit Sequence dialog will appear and the data from the selected sequence will be populated.
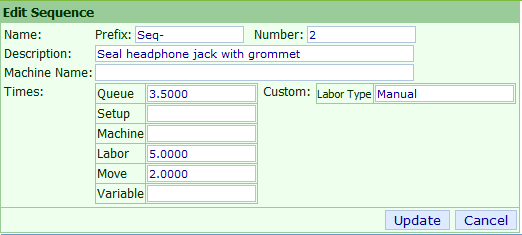
To edit, modify the desired properties and then click the Update button.

|
 |
Group Editing Sequences |
Top |
|
You can edit/modify 2 or more sequences by clicking the Edit All toolbar button.

This will present edit boxes/options for all sequences.

Once all changes have been made, click the Save Sequences button.

|
 |
Ordering Sequences |
Top |
|
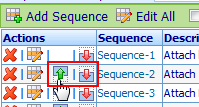
You can modify the sequence order by using the Up and Down icons in the Actions column of the Sequence list.
|