| Overview |
For each sequence you can assign BOM Items to represent which materials (and their quantity) are used/consumed by the sequence/step.
For each sequence/step, you can also associate Omnify item to display metadata/parameters and graphical depictions (documents) that describe all necessary data for each operation/step.
|
 |
BOM Item Page |
Top |
|
To assign/modify the BOM Items or associations of a sequence, click the BOM Items tab from the Routing form navigation bar.

The BOM Items page will provide a list of all operations and sequences assigned to the Routing at the top of the page.

BOM Items must be assigned to a sequence.
To assign BOM Items, you must first select an operation and a sequence of that operation.
You can select the operation from the Operation drop list or use the « Prev or Next » buttons.


Once the operation has been selected, the sequence drop list will display all available sequences for that operation.

You can then select the sequence from the Sequence drop list or use the « Prev or Next » buttons.


|
 |
BOM Items List |
Top |
|
The BOM Items page will always display the entire BOM.

The BOM will display the following key fields:

| Level |
Hierarchical BOM level indicator |
| Item |
BOM Item Number |
| Part Number |
Part Number of BOM item |
| Qty |
Item quantity as specified on BOM |
| Ext Qty |
Calculated quantity based on parent item quantity (for BOM items of level 2 or greater) |
| Total |
Total available quantity for that part number. The system will calculate this based on the number of times
that particular part number appears on all levels of the BOM |
| In Use |
The total quantity of the item being used on all sequences of the routing. |
| Seq. Qty |
The quantity consumed by this sequence for the given BOM item |
Once a sequence is selected, the BOM fields will update to indicate which BOM items are used (and how much [Seq. Qty]).


|
 |
Assigning Quantities |
Top |
|
The BOM Items page will display the entire BOM.
The BOM items that are consumed by the sequence are highlighted and the Seq. Qty field will indicate the quantity used by that particular sequence.

The BOM Items list also provides an Identifier and Notes field.

The Notes field is generally used to include a sequence specific note for the BOM item.
The Identifier field can be used to define callout numbers on graphical sequence depictions or additional location information.
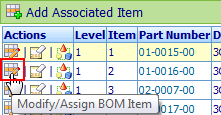
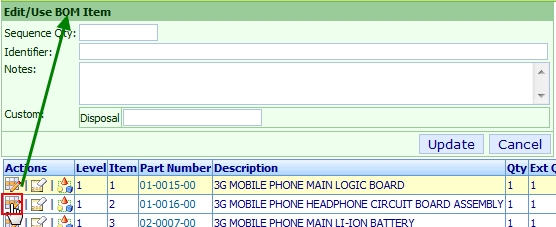
To assign a BOM Item to the sequence, click the Edit icon in the Actions column of the desired item.

This will present the Edit/Use BOM Item dialog box.

Once the items/quantities are defined, click the Update button to set.

The new sequence quantity will be updated on the BOM Item list.

When assigning a BOM Item, the system will compare the total available quantity of BOM items against the total consumed by all sequences to determine shortages.
The In Use field will indicate the total quantity of the item being used on all sequences of the routing.

The BOM will display different colors to indicate shortages (where quantity consumed by all sequences exceeds the amount available on the BOM).
To remove/clear a BOM Item, click the Clear icon in the Actions column of the desired item.

The Sequence Quantity (Seq. Qty) field will be cleared.

|
 |
Associated Items |
Top |
|
Each sequence can contain associated Omnify items.
Associated items can be used to display metadata/parameters and graphical depictions (documents) that describe all necessary data for each operation/step.
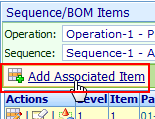
To add an associated item, click the Add Associated Item toolbar button.

This will present the Add Associated Item dialog box.

You can either type the part number or use the Browse button to search/find the item in the database.

Once the part number has been specified, click the Add button to assign the associated item.

The Associated Items section will appear above the BOM items list.

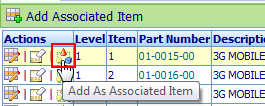
You can associate one of the BOM child items easily by clicking the Add As Associated Item icon in the Actions column of the desired item.


To remove an associated item, click the Remove hyperlink.

Refer to the Operations Viewer section for more information on displaying documents and metadata of the associated items.
|