| Overview |
Each user has the ability to customize many settings that modify the Desktop user interface and database operations.
To modify any of these settings, use the Preferences form.
You can launch the Preferences form from the Object Viewer


Note: Other commands will also launch the Preferences dialog box.
The Preferences dialog box contains a list of categories that manage a different group of settings.
Selecting a Preference category will update the settings page area to display the available options on that page.

|
|
|
The General section of the Preferences form contains the following options/settings:

| Show pending (ECO) revisions in rev list |
If this option is checked, pending revisions on active Changes/ECOs will appear in the Rev drop list on the item form.

|
| Display document tree/navigator when |
This option allows you to set how many documents must appear on the Documents list before the system displays the Document navigator.

Refer to the Document Management section for more information.
|
| Maximum Recent Items |
This setting allows you to control how many objects will appear in the Recent Items list on the Home Page.
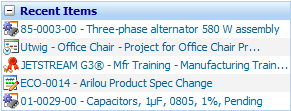
Refer to the Home Page section for more information.
|
| Display workflow name on signoff page |
If this option is checked, the system will display the workflow name on the Signoff page.
Refer to the Signoff Page section for more information.
|
| Display document dates column |
If this option is checked, the system will display the date column (when added or last checked-in) on the documents list.

Refer to the Document Management section for more information.
|
| Expanded affected item tree by default |
If this option is checked, the system will automatically expand all affected items in the Navigator tree on the Changes/Redlines page on the Change/ECO form.
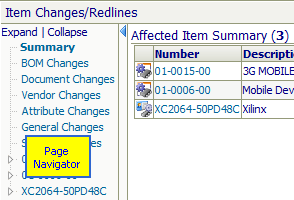
Refer to the Change/ECO Management section for more information.
|
| Show edit properties after adding affected items |
If this option is checked, the system will display the Edit Affected Item dialog box after an affected item has been added to a Change/ECO.
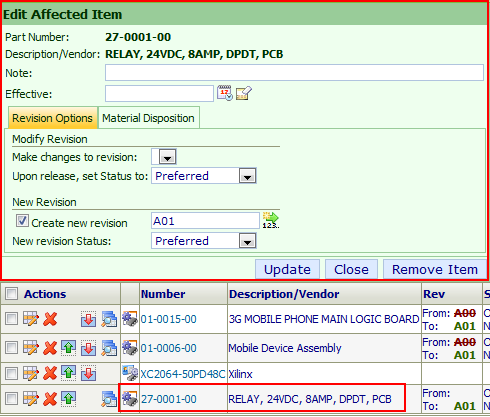
Refer to the Change/ECO Management section for more information.
|
|
 |
BOM Options |
Top |
|
The BOM Options section of the Preferences form allows you to select which fields will appear in the BOM list (Item form).
You can also select which reports will appear in the View drop list.
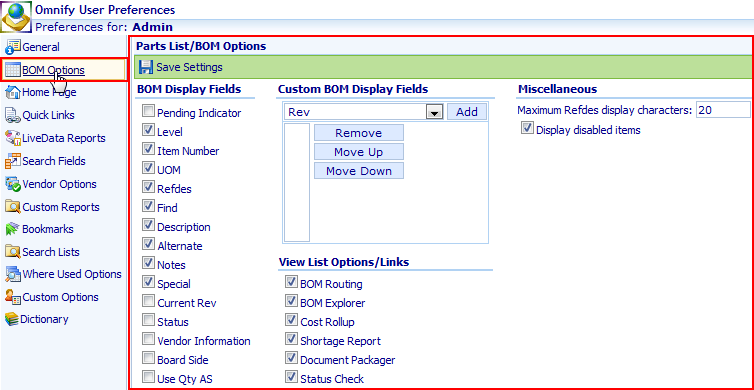
Refer to the BOM Management section for more information.
|
|
|
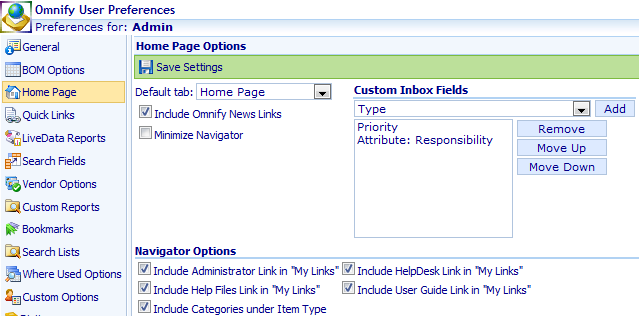
The Home Page section of the Preferences form allows you to set the following options:
| Default tab |
This setting allows you to select the default tab that will be display when a user opens the Desktop Home Page.

Refer to the Home Page section for more information.
|
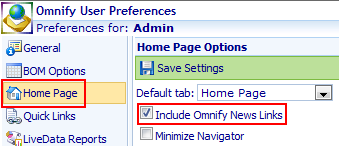
| Include Omnify News Links |
If this option is checked, the RSS product news feed from Omnify will appear on the Desktop Home Page.

Refer to the Home Page section for more information.
|
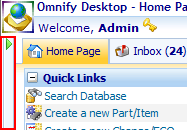
| Minimize Navigator |
If this option is checked, the Object Viewer will be hidden (by default) on the Desktop Home Page.

Refer to the Object Viewer section for more information.
|
| Custom Inbox Fields |
The Custom Inbox Fields section allows you to define additional data fields to be display in the user's Inbox.


Refer to the Home Page/Inbox section for more information.
|
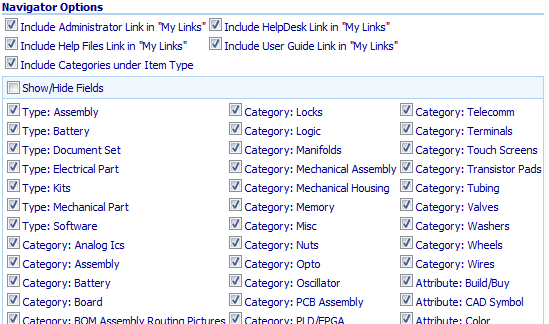
| Navigator Options |
The Navigator Options section allows you to define options and filter items from the Object Viewer.
Refer to the Object Viewer section for more information.
|
|
 |
Quick Links |
Top |
|
The Quick Links section is where you can define custom links for the Home Page tab.

Refer to the Home Page Tab section for more information.
|
 |
LiveData Reports |
Top |
|
The LiveData Reports section is where you configure reports/LiveData objects that will appear on the Reports/Dashboard tab of the Desktop Home Page.
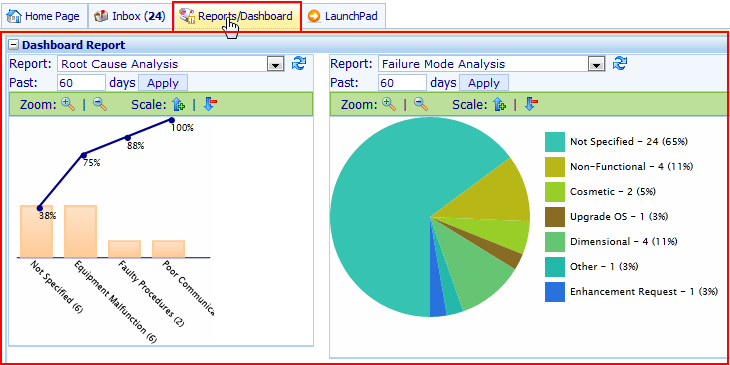
Refer to the Reports/Dashboard section for more information.
|
 |
Search Fields |
Top |
|
The Search Fields section is where you define the default Database Search fields for each object type.
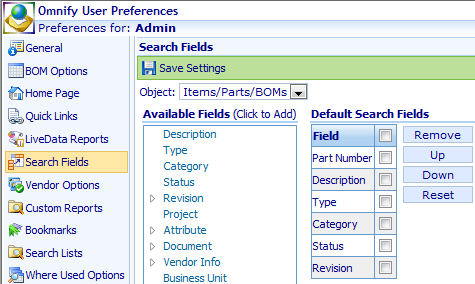
Refer to the Search Fields section for more information.
|
 |
Vendor Options |
Top |
|
The Vendor Options section is where you define the data/fields that will be display in the "Extended" data view on the Vendors/Supplier page.
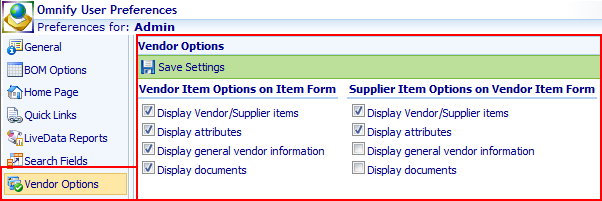
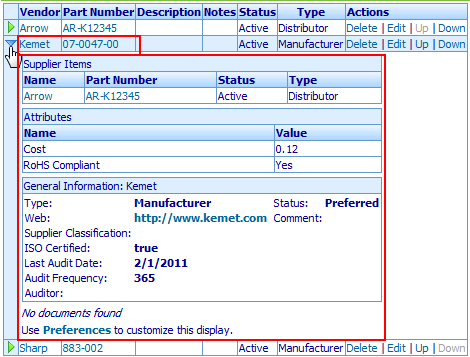
Refer to the Vendor Management section for more information.
|
 |
Custom Reports |
Top |
|
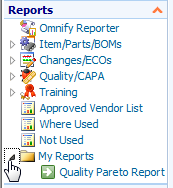
The Custom Reports section allows you to create links that will appear in the My Searches list of the Reports section of the Object Viewer.
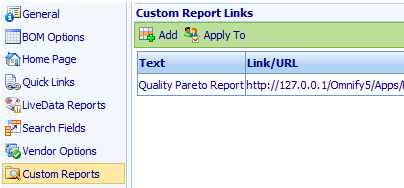
To add a link, click the Add toolbar button.
This will display the Add Custom Report Link dialog box.

From the Add Custom Report Link dialog box you can provide a Name/Display Text for the link, and the URL, and then click the Add button.

You can modify the display order or remove a link by clicking the checkbox and then using the Remove, Move Up, and Move Down buttons.

All links in this list will appear in the My Searches list of the Reports section of the Object Viewer.


|
|
|
The Bookmarks section is where you manage your bookmarked objects.

Bookmarked objects will appear on your Home Page.

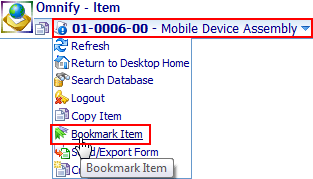
Bookmarks are created from any object form by clicking the Bookmark Item command in the object banner quick menu.
To remove a bookmark, check the item's checkbox and then click the Remove button.

|
 |
Search Lists |
Top |
|
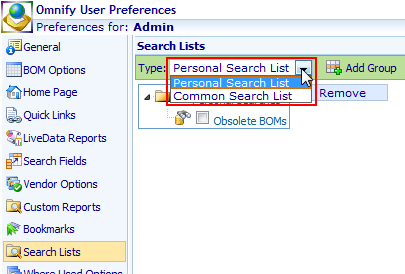
The Search Lists section allows you to manage both Personal and Common/Public (if permissions allow) folders and searches.
Refer to the Database Searching section for more information.
|
 |
Where Used Options |
Top |
|
The Where Used Options section allows you to show/hide standard fields as well as include custom item fields that will appear in the Where Used page of the Item form.
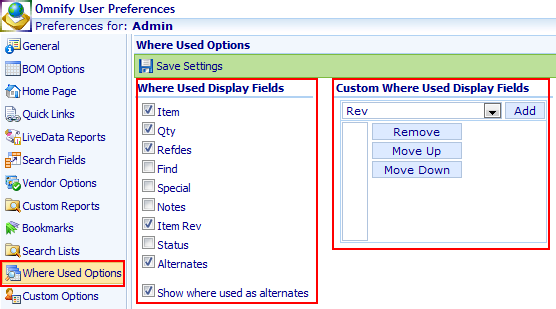
Refer to the Where Used section for more information.
|
 |
Custom Options |
Top |
|
The Custom Options section can be used to provide custom user settings.
This section will be setup by a qualified Omnify Application Engineer.
|
|
|
The Dictionary section allows you to select "dictionary" files for various Omnify object forms.
Dictionary files act as "mapping" files that allow you to customize the text, names, labels, etc. to provide different languages and vernaculars to be displayed on the various forms.
To set a dictionary file, select the mapping file for the desired object form from its drop list.
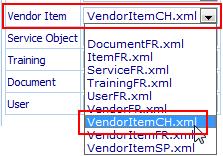
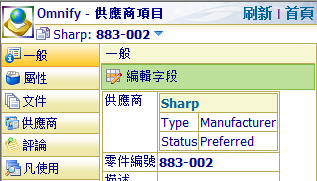
The system will automatically apply the dictionary file when the user launches the specified form.
|